


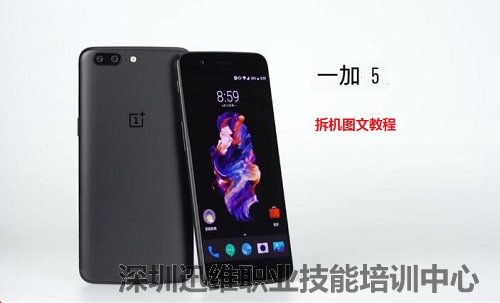
一加5做工究竟如何?一加5拆机图文教程
一加5采用了5.5英寸1920*1080分辨率,高通骁龙835(64位八核)CPU,1600万前置+后置2000万+1600万双摄像头,3300mAh电池容量,那么它的内部做工怎样呢?我们通过对一加5拆机来一探究竟吧!
一加5拆机
一加5拆机过程/方法:
首先先关机,取出卡托。
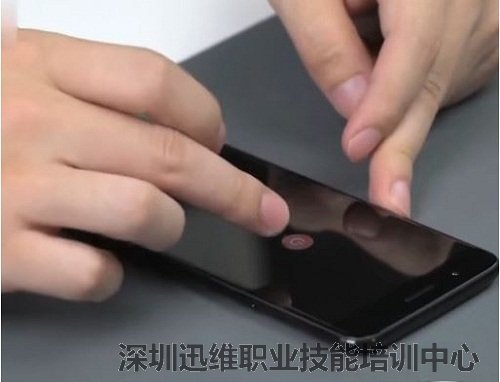
关机
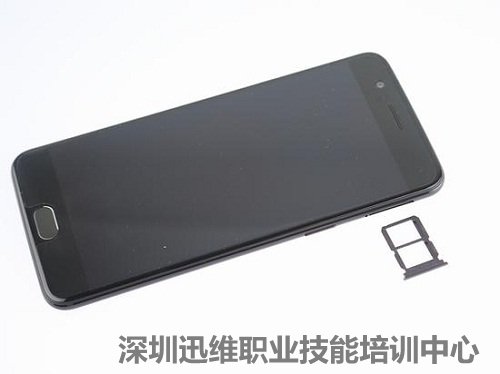
取SIM卡
起初试图使用吸盘工具去除后盖,但尝试失败。所以在后盖和机身之间插入一个撬棍,并沿着显示边缘滑动撬棍,从机身上释放后盖。
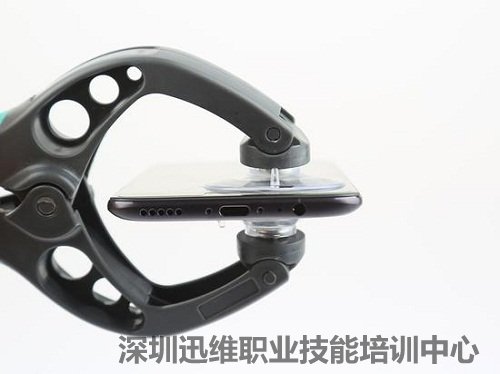
试图用吸盘工具取出后盖
打开后盖后,由于电缆仍然连接到主板,因此无法完全卸下后盖。拆下固定金属板的一个螺丝,这个螺丝固定电池连接器和USB-C电缆,首先断开电池连接,然后断开USB-C电缆。

一加5拆机
一加5采用单片金属背盖,天线为大面积纳米注射设计。我们可以看到USB Type-C端口和耳机插孔固定在后盖上,后盖上有很多金属触点。

一加5拆机
卸下固定USB Type-C端口和耳机插孔的四个螺钉。

一加5拆机
USB Type-C端口和耳机插孔模块与一加3T显然不同。

耳机插孔模块与一加3不同
左上角是电源开关的三个金属触点,中间的黑色电缆是NFC模块。

一加5拆机
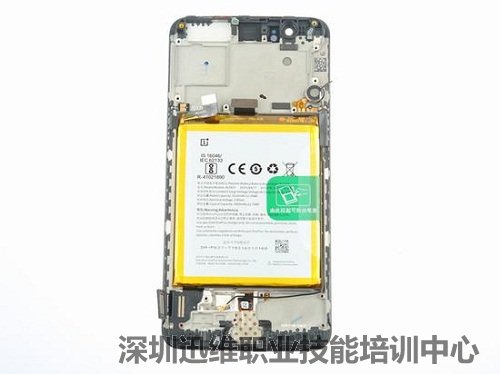
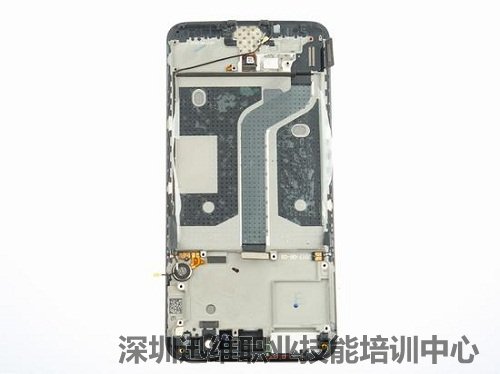
一加5的机身还是经典的三段式设计,上层是主板,中间是电池,下面是扬声器模块。
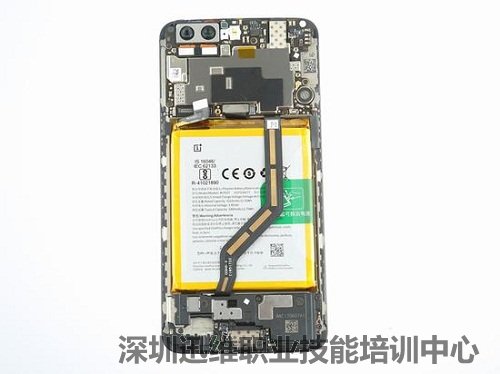
经典三段式设计
拆下固定主板的所有螺丝。我们可以看到覆盖一层石墨贴纸的金属屏蔽,电池和主板没有覆盖石墨贴纸,现在很多手机都使用石墨贴纸来覆盖主板和电池,以起到散热作用。

一加5拆机
断开底板电缆与主板的连接。
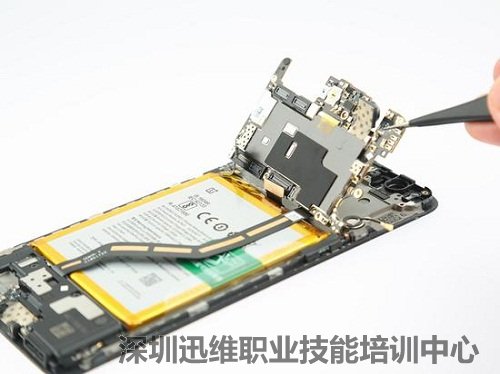
断开底板电缆和主板链接
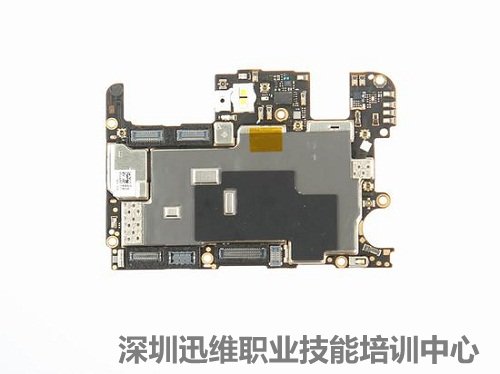
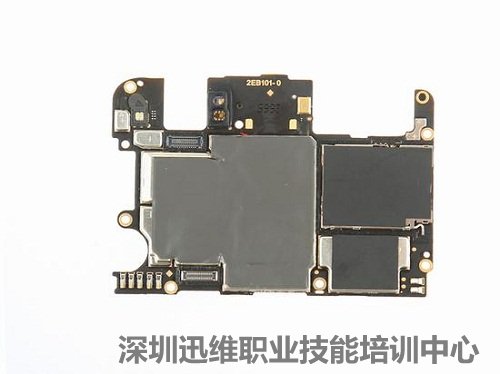
拆下主板
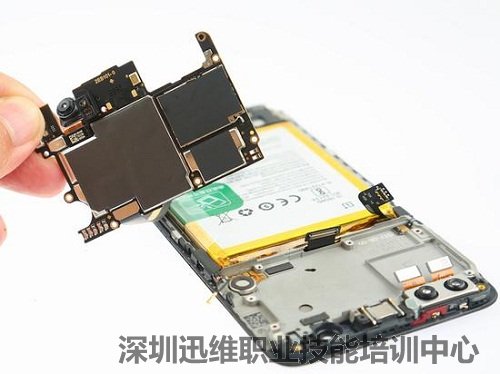
由于没有双面胶,我们可以轻松拆下后置摄像头。
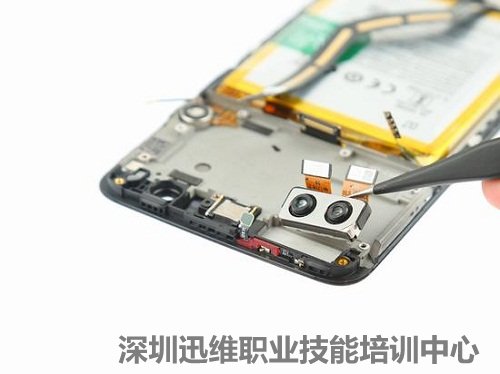
拆下后摄像头
前置摄像头:Sony IMX371,1600万像素,f/2.0。
后置双摄像头:Sony IMX398 1600万像素,f/1.7,Sony IMX350 2000万像素,f/2.6,1.6x光学变焦。
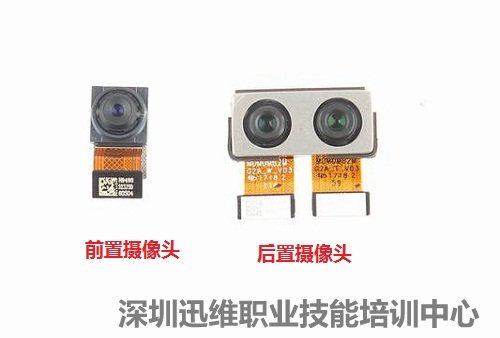
前后摄像头特写
麦克风用胶水固定在机身上,可以方便地拆下。

拆卸麦克风
拆下固定扬声器模块的8颗螺丝。

一加5拆机
拆下扬声器模块。

拆卸扬声器
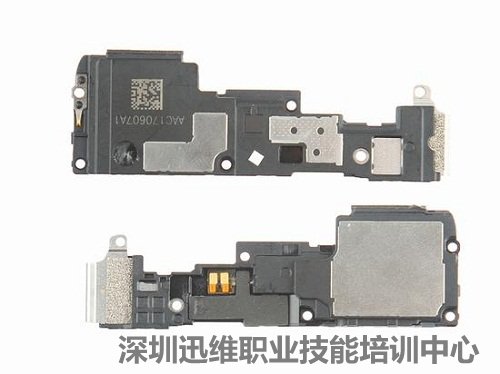
扬声器特写
底板非常薄,用胶水固定在机身上,要非常小心地去除。

一加5拆机
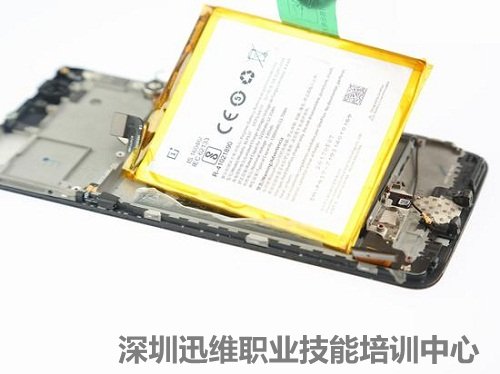
去掉两边的双面胶带,然后拉绿色胶带取出电池。
拆卸电池
一加5拆机
电池下方看到两块固定用的双面胶。

电池下面有固定双面胶
Oneplus 5配有电压3.85V,容量为3300mAh锂聚合物电池,电池型号为BLP637。值得一提的是,仍然使用5V4A的DASH快速充电,与前代相比并无升级。

3300mAh锂聚合物电池
电池单元来自ATL。

一加5拆机
一加5拆机
由于金属屏蔽片直接焊接到主板上,所以我们无法查看主板上的芯片。自此一加5拆机图文教程完成!
一加5拆机
一加5拆机
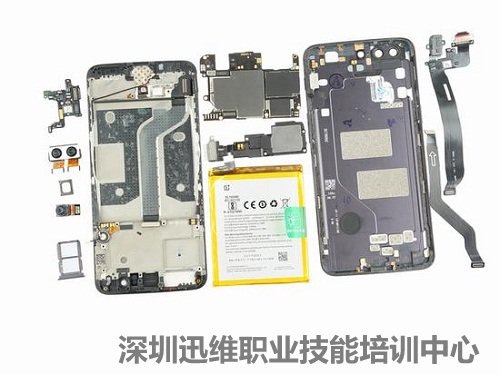
一加5拆机全家福
下一篇: 迅维笔记本维修培训-游泳去喽
 网站快速导航
学到熟练维修 需要多少钱?
 联系方式
联系方式

培训咨询
技术交流群
 培训科目
培训科目
- 新能源特斯拉维修培训班【实地】2026-03-17
- 无人机维修培训班【实地】2026-03-16
- 硬盘数据恢复2023-05-24
- 安卓字库修复课程(远程)2022-12-08
- 手机爆屏维修实地面授培训2021-09-02
- 自学维修基地——迅维课堂2017-06-14
- 安卓·苹果手机维修培训高级班【实地】2016-07-09
- 苹果手机、安卓手机维修培训(远程网络班)2025-12-19


