


联想M7400扫描复印打印一体机卡纸拆修
联想扫描复印打印一体机M7400,故障是后部卡纸,这是个通病,放在旁边闲置了半年,闲着没事,翻出来拆修一下。
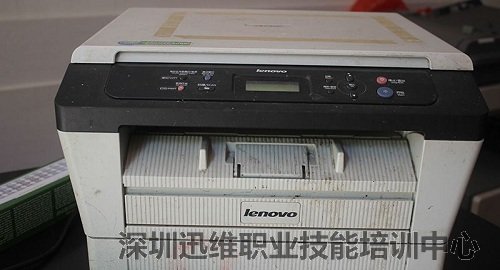
联想M7400扫描复印打印一体机卡纸拆修(图1)
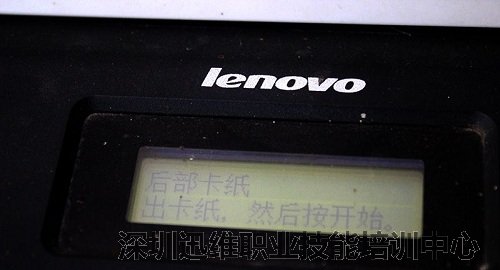
联想M7400扫描复印打印一体机卡纸拆修(图2)
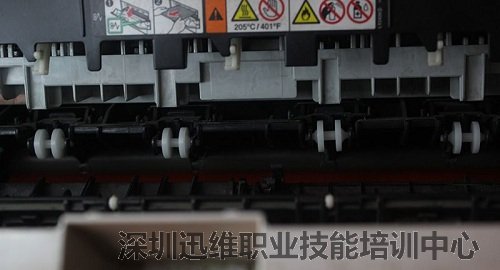
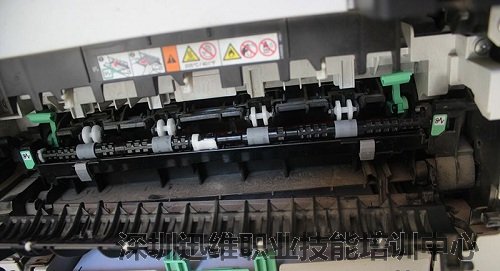
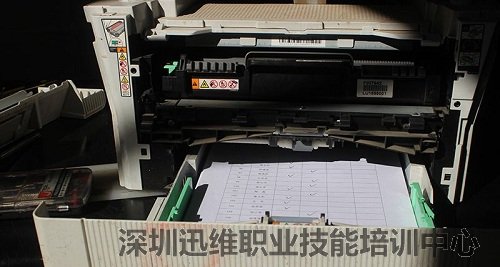
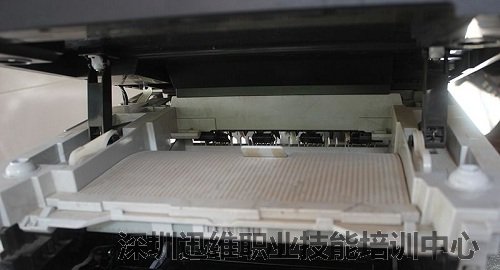
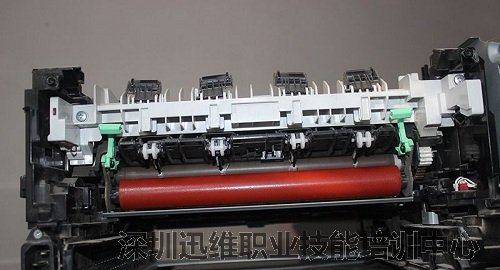
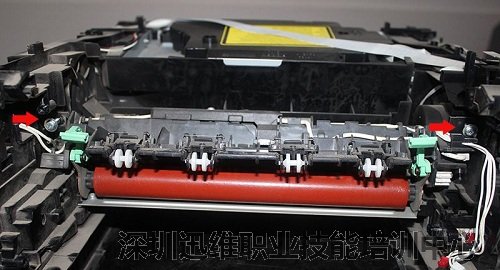
打开后盖,观察卡纸部位。
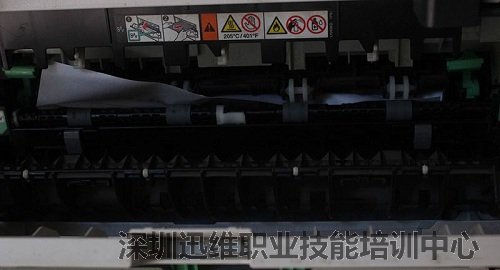
联想M7400扫描复印打印一体机卡纸拆修(图3)
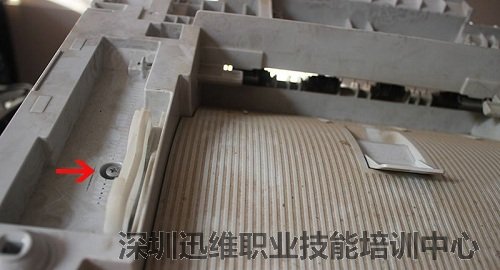
纸张有异物阻挡的痕迹。
联想M7400扫描复印打印一体机卡纸拆修(图4)
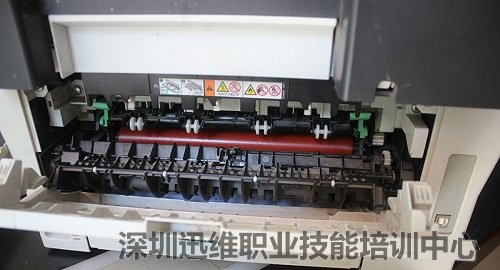
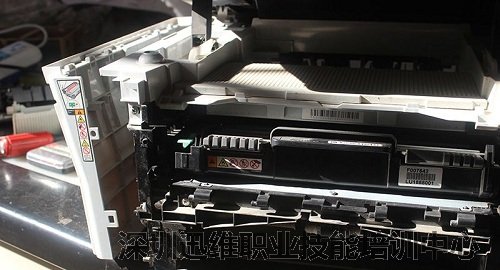
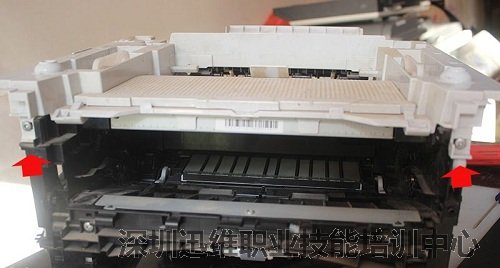
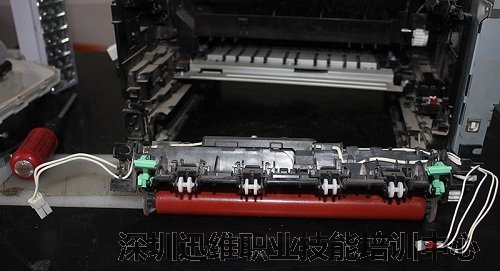
联想M7400扫描复印打印一体机卡纸拆修(图5)
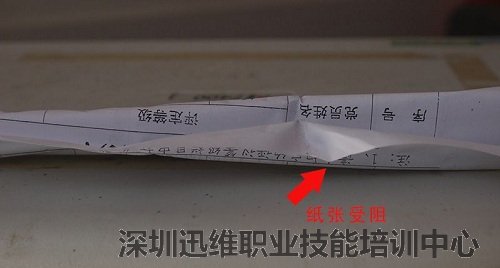
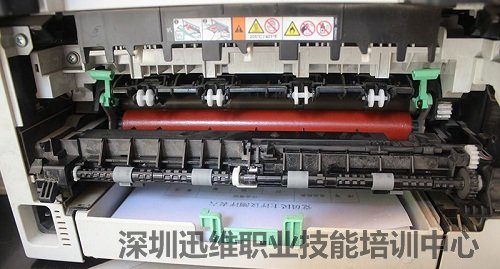
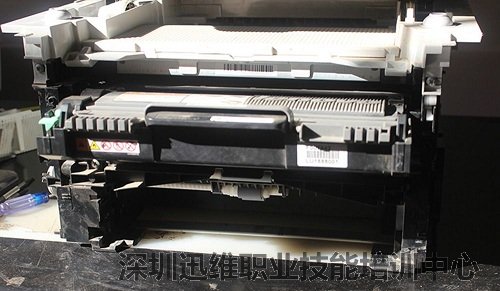
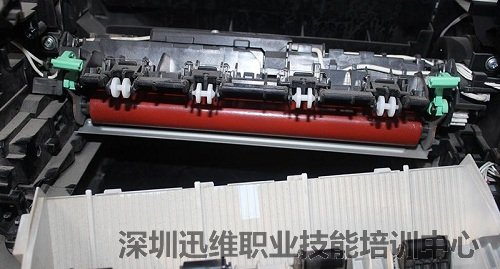
放下出纸组件,可以看到定影组件。
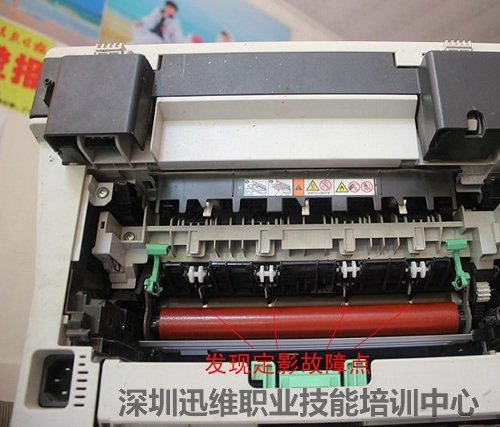
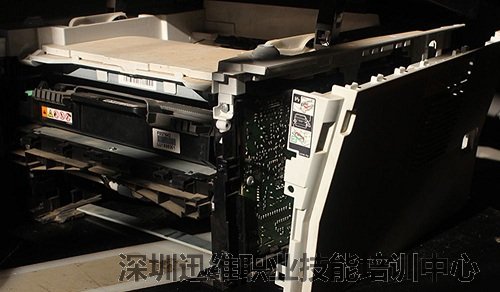
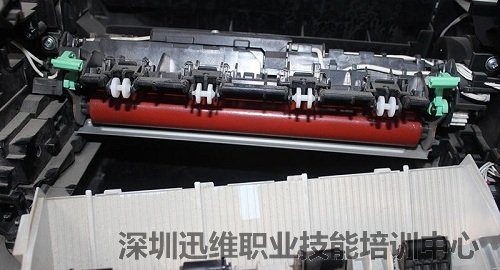
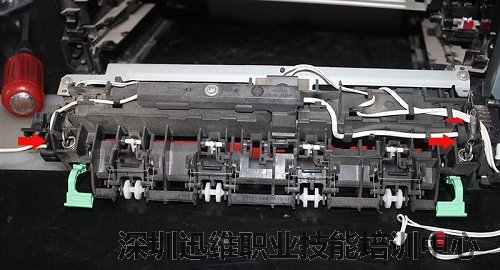
联想M7400扫描复印打印一体机卡纸拆修(图6)
发现定影上辊与分离接触处脱皮起皱,阻碍了出纸通道,这就是卡纸的原因。必须拆下定影组件,更换定影上辊才能根除。
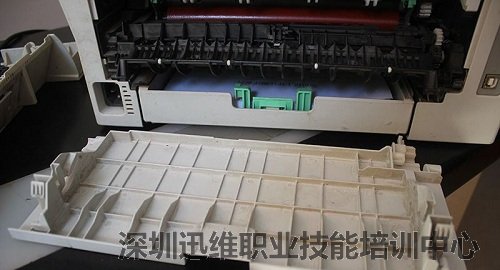
联想M7400扫描复印打印一体机卡纸拆修(图7)
很容易就拆下了后盖。
联想M7400扫描复印打印一体机卡纸拆修(图8)
拆下出纸组件1。
联想M7400扫描复印打印一体机卡纸拆修(图9)
再拆下出纸组件2,都很轻松就拿下。
联想M7400扫描复印打印一体机卡纸拆修(图10)
打开前面盖板。
联想M7400扫描复印打印一体机卡纸拆修(图11)
按图示松开扣,再往左边拉一下就取出。
联想M7400扫描复印打印一体机卡纸拆修(图12)
拿掉纸盒。
联想M7400扫描复印打印一体机卡纸拆修(图13)
用平口螺丝刀撬开左边的盖板,拆下,注意观察卡扣的位置。
联想M7400扫描复印打印一体机卡纸拆修(图14)
同样的方法拆开右边的盖板。
联想M7400扫描复印打印一体机卡纸拆修(图15)
联想M7400扫描复印打印一体机卡纸拆修(图16)
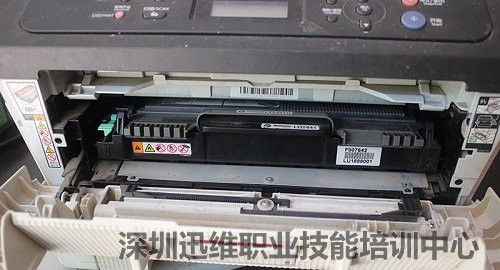
拿掉硒鼓组件。
联想M7400扫描复印打印一体机卡纸拆修(图17)
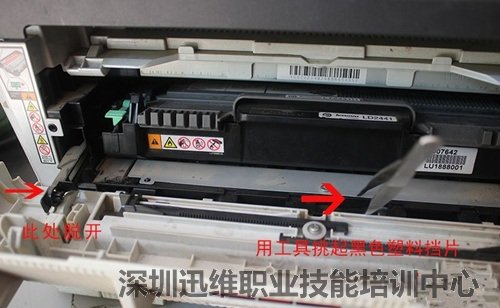
左右板卡扣位置有标志。

联想M7400扫描复印打印一体机卡纸拆修(图18)
开始拆扫描板,取下活动支撑的两根弹簧,拆下支架。
联想M7400扫描复印打印一体机卡纸拆修(图19)
拆下扫描仪连线和接地螺丝。
联想M7400扫描复印打印一体机卡纸拆修(图20)
直接拆下扫描组件。
联想M7400扫描复印打印一体机卡纸拆修(图21)
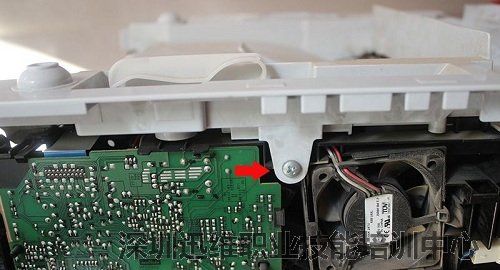
拆掉这个螺钉。
联想M7400扫描复印打印一体机卡纸拆修(图22)
拆下两个固定螺丝。
联想M7400扫描复印打印一体机卡纸拆修(图23)
还有这个。
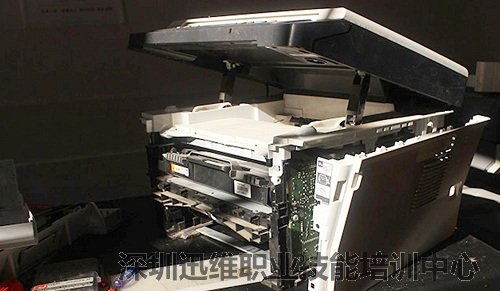
联想M7400扫描复印打印一体机卡纸拆修(图24)
联想M7400扫描复印打印一体机卡纸拆修(图25)
然后取下上盖。
联想M7400扫描复印打印一体机卡纸拆修(图26)
再拆掉上面的盖子。
联想M7400扫描复印打印一体机卡纸拆修(图27)
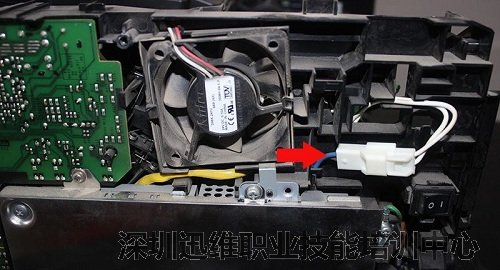
拔下这个插头。
联想M7400扫描复印打印一体机卡纸拆修(图28)
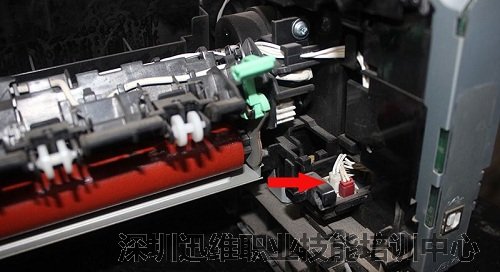
还有这边两个插头,并且把插头线从夹子里拉出来。
联想M7400扫描复印打印一体机卡纸拆修(图29)
拆下两边两个螺丝。
联想M7400扫描复印打印一体机卡纸拆修(图30)
终于拆下了定影组件。
联想M7400扫描复印打印一体机卡纸拆修(图31)
完整的定影组件。用尖嘴钳取下两根大弹簧,注意右边还有一根小弹簧。
联想M7400扫描复印打印一体机卡纸拆修(图32)
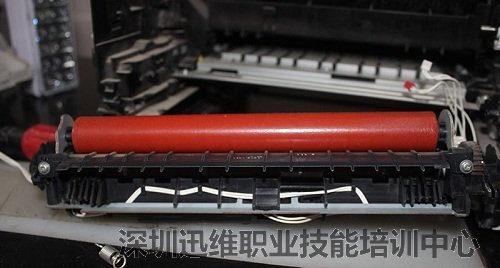
取下红色的定影下辊。
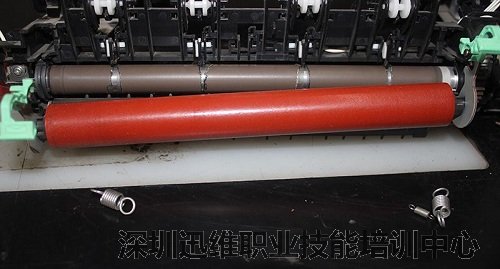
联想M7400扫描复印打印一体机卡纸拆修(图33)
拆下胶辊下面那个塑料支架的固定螺丝,取下黑白支架。
联想M7400扫描复印打印一体机卡纸拆修(图34)
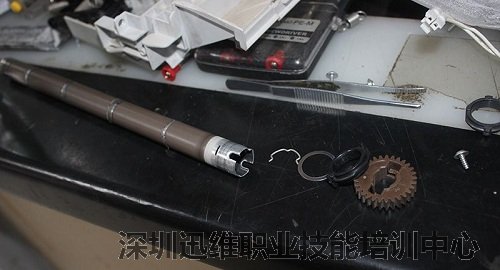
清理向下箭头处分享爪,小心拆掉两边的插头和白色的齿轮,即可取出定影上辊。

联想M7400扫描复印打印一体机卡纸拆修(图35)
拆下的上辊,配件可千万不要丢了哦!
联想M7400扫描复印打印一体机卡纸拆修(图36)
上一篇: 广西北流微芯电脑
 网站快速导航
学到熟练维修 需要多少钱?
 联系方式
联系方式

培训咨询
技术交流群
 培训科目
培训科目
- 新能源特斯拉维修培训班【实地】2026-03-17
- 无人机维修培训班【实地】2026-03-16
- 硬盘数据恢复2023-05-24
- 安卓字库修复课程(远程)2022-12-08
- 手机爆屏维修实地面授培训2021-09-02
- 自学维修基地——迅维课堂2017-06-14
- 安卓·苹果手机维修培训高级班【实地】2016-07-09
- 苹果手机、安卓手机维修培训(远程网络班)2025-12-19


